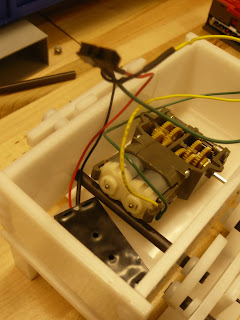
Below is a picture of our robot hooked up to a battery pack:
 Here is a picture showing our new bottom piece. If you look closely, you can see the two long gaps running along the length of the bottom piece. This gave us more room to work with and allowed us to put as many bushings as we wanted to make the legs more stable.
 Here is a picture showing our new bottom piece. If you look closely, you can see the two long gaps running along the length of the bottom piece. This gave us more room to work with and allowed us to put as many bushings as we wanted to make the legs more stable.
  After finding a solution for the legs, we wanted to sauter the wires on our motor and also sauter a switch so that it would be easier to turn the robot on. We also wouldn't have to carry a breadbox and wouldn't have to worry about the wires falling out of place. The sautering process was very quick and pretty easy and once it was done, we could fit all the wires, the battery pack, and the switch into the robot's body. So once we turned on the switch, the robot was free to roam off on its own.

No comments:
Post a Comment